iWave-M Air Ionization system
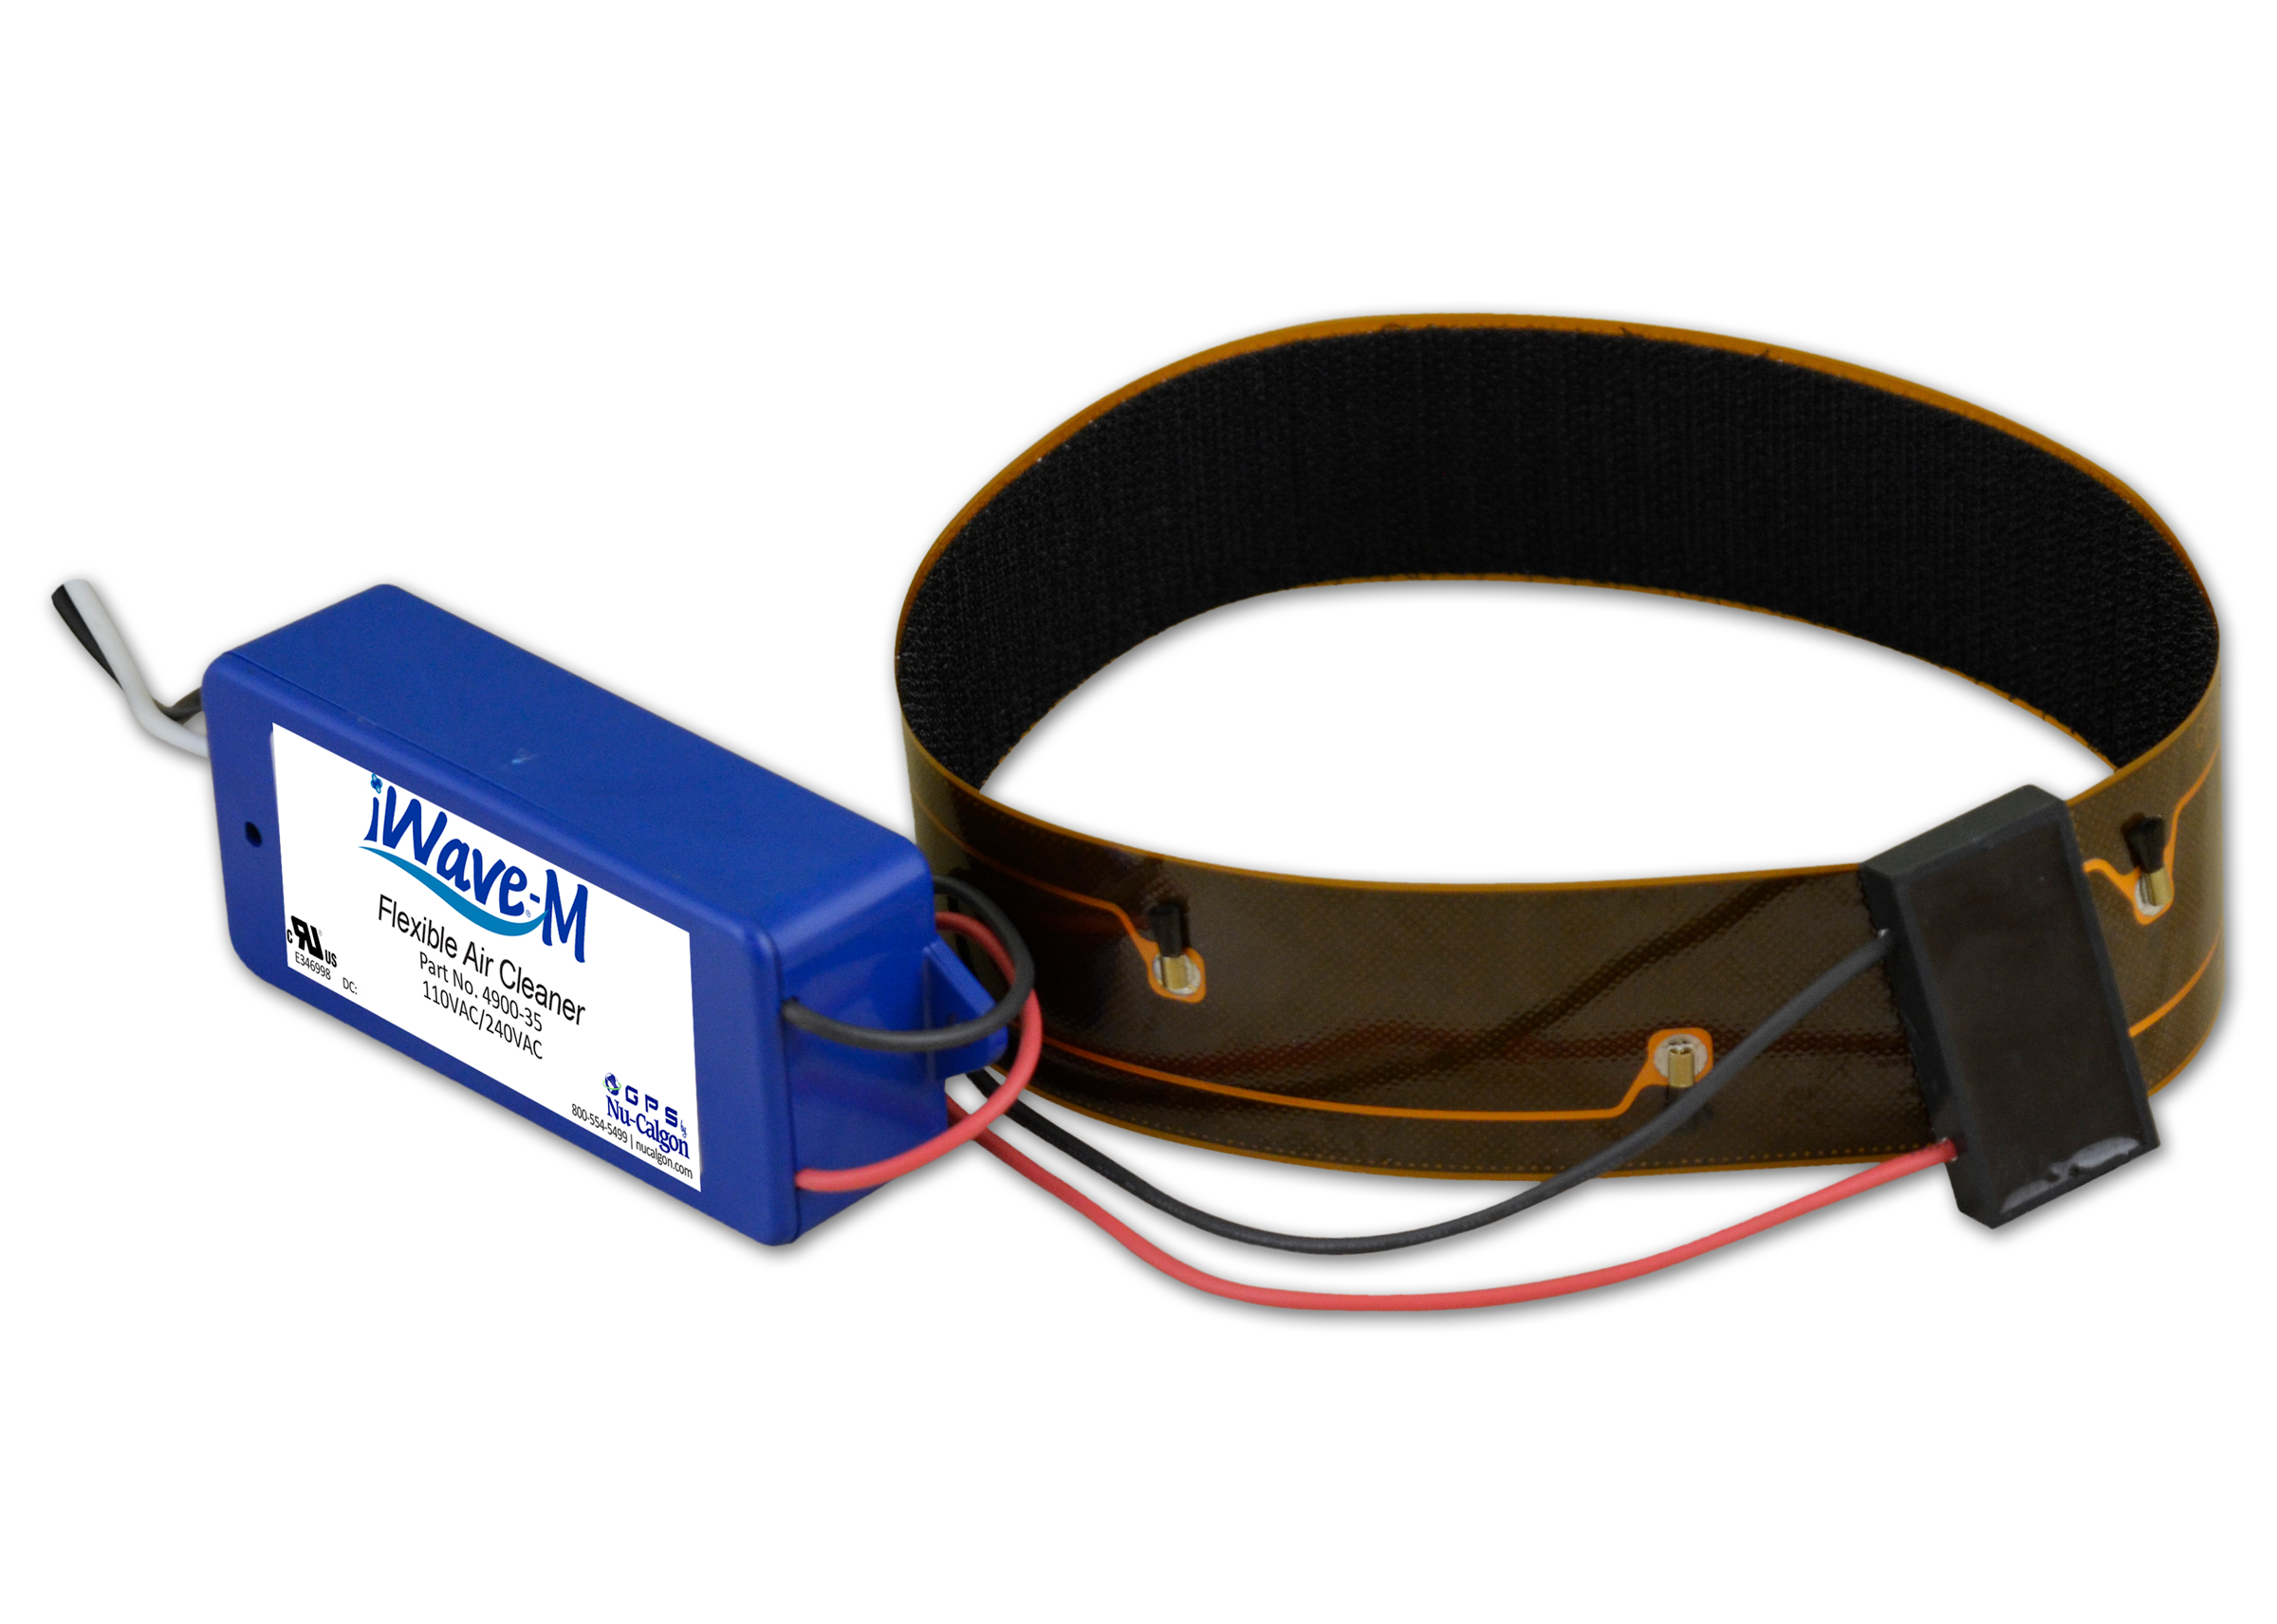


- Special ion needles routed in a flexible bar circuit
- Compact design applicable for any HVAC systems up to 1,600 CFM
- Can flex easily in the field to accommodate virtually any application - ideal for ductless systems
- No replacement parts
- Multi-Voltage input – 110VAC to 240VAC
- Validated to meet UL 2998 ozone requirements
- OEM Approved
Description:
iWave-M is a flexible ion-generating bar that can treat IAQ in nearly any HVAC application. The air purifier provides the highest level of ionization energy in the most compact size available in the market, producing 35 million ions/cc. The highly versatile iWave-M is low maintenance with no replacement parts. As the air flows past the iWave-M, the device emits positive and negative ions that treat the air, reducing certain bacteria and viruses in the coil and living space. The ionization process also reduces smoke and static electricity, as well as controlling odors (cooking, pet, VOCs) and other particles (no more sunbeams) in the air. iWave-M is validate to meet UL 867 ozone requirements.
iWave-M’s revolutionary circuit bar with special integrated ion-generating needles fits any HVAC cooling coil up to 1600CFM. The circuit bar is chemical resistant and highly durable for long service life. Plus, it can be folded to length in the field to any size and uses hook and loop fastener material for the flexible bar and power pack for easy installation. It is perfect for ductless HVAC systems – specifically mini-splits, commercial VRF coils, PTAC systems – plus residential and commercial duct systems, packaged systems, and even transport cooling coils. The iWave-M is the most versatile and novel product on the market to address air quality for any HVAC system, in particular to solve indoor air quality issues common in hard-to-clean ductless systems.
Three Year Limited Warranty Nu-Calgon offers a three year limited warranty on iWave products. For a valid warranty claim within three years, proof of purchase and proof of installation by a licensed HVAC or Electrical contractor must be provided. See full warranty at iwaveair.com for complete details.
DISCLAIMER: iWave uses multiple data points to formulate performance validation statements. iWave technology is used in a wide range of applications across diverse environmental conditions. Since locations will vary, clients should evaluate their individual application and environmental conditions when making an assessment regarding the technology’s potential benefits.
The use of this technology is not intended to take the place of reasonable precautions to prevent the transmission of disease. It is important to comply with all applicable public health laws and guidelines issued by federal, state, and local governments and health authorities as well as official guidance published by the Centers for Disease Control and Prevention (CDC), including but not limited to social distancing, hand hygiene, cough etiquette, and the use of face masks.
| Packaging Size | Part Number | Additional Info |
|---|---|---|
| iWave-M | 4900-35 |
Directions:
This product must be used in accordance to the following directions by HVACR professionals only.
The iWave-M is a highly versatile ion generating device that is designed to be typically installed at the base of the cooling coil for ductless and duct air conditioning systems; but the device can be installed in supply air as well. The iWave-M is an ideal, no replacement part device that can be integrated into wall or ceiling cassette indoor coils of mini-splits, PTAC units or commercial systems where there may not be enough room to install the iWave-C between the filter and coil. The 18 inch ion generating bar can be used for coils up to 1600CFM. For coils beyond the 18 inch ionizer length, simply center the ionizer bar on the coil to make sure the ionization best covers the coil width. For coils shorter than 18 inches, see the section on iWave-M modification directions below.
Simply peel back the sticky backing to the power pack and ionization bar and stick it across the width of the coil, near its base so the iWave-M treats the coil as well as the breathing zone. Connect the appropriate leads of the iWave-M to 110VAC to 240VAC power and reassemble the equipment and turn on power to the unit.
Mini-Split Instructions:
- Turn power off to mini-split.
- Open front cover of indoor unit.
- Remove filter screens.
- Measure the length of coil and affix ionizer bar to solid surface (often plastic) on top of the coil. The width of the plastic region will easily accommodate the iWave-M ionizer bar so it can treat the coil, barrel blower and breathing zone of the room. For coils larger than 18 inches, center the ionizer bar on top of the coil and affix. For coils less than 18 inches, refer to the iWave-M modification directions below.
- Depending on mini-split model, the area available to mount power pack will vary. Either affix with adhesive backing to back cabinet wall or side of coil.
- Run wires to the electrical compartment to hook up to 110VAC to 240VAC power source to where iWave-M will power on with the indoor fan. For 110/120VAC or 208/240VAC input, connect the black wire (hot) and white wire (neutral).
- Trim wires to length hook up to appropriate terminal connections and connect. Harness/secure wires within the equipment as necessary.
- Reassemble filter screens, close the front cover and turn on power to mini-split.
iWave-M Modification Directions:
When the iWave-M is too long for the coil which it’s being applied, perform the following steps:
- Measure how much past the end of the coil the iWave-M lays.
- Bend the iWave-M back on top of itself (DO NOT bend under with sticky backing facing each other) so the brush pairs on the top will lay next to the brush pairs on the bottom.
- Peel the backing off of the iWave-M and press it down to the cooling coil starting at the power entry side of the iWave-M. DO NOT press down on the end of the iWave-M that will need folded to shorten the length.
- Fold the iWave-M back to achieve the length required, lining up the bottom and top layer brush pairs, and place a piece of electrical tape across the joint.
- Continue to use electrical tape down the iWave-M towards the end, making sure that the tape joints are between the brush pairs. DO NOT allow the tape to cover the brush pairs.
- DO NOT crease the end of the iWave-M flat. As a guide, use a #2 Phillips screwdriver inside the fold joint to ensure the proper bend is achieved.
- Once the iWave-M has been folded and taped to the length required, push it down on the coil.
- A successful fold procedure will create “pockets” for the carbon fiber brushes to emit the ions.
Product Information:
Literature Downloads
Download the product bulletin and other relevant literature here.
- i-WAVE-M, MINI FLEXIBLE AIR CLEANER Literature
- i-WAVE-M, MINI FLEXIBLE AIR CLEANER Product Bulletin
- i-WAVE-M, MINI FLEXIBLE AIR CLEANER Application Bulletin
Labels
Download a low resolution file of the product label here.